
Secure SageMaker Studio + ML Pipelines on AWS with CDK
A production‑minded example that provisions a secure SageMaker Studio domain and a tabular ML pipeline using AWS CDK, VPC‑only networking, KMS, and a custom resource for Pipeline lifecycle.

Disclaimer: I work at AWS, but this is a personal, technical build guide to create a secure, fully managed ML workflow.
Why this post
With the recent advances in AI/ML, I find myself supporting a data science team that are experimenting and building new models, and running inference for classification using AWS Sagemaker AI. The problem? The infrastructure setup for this scope, while establishing a secure environment, is complicated, and made a bit more tricky with limited CDK constructs being available.
I wanted to create a production‑minded example that demonstrates a secure SageMaker Studio deployment with a real ML pipeline — not just screenshots - although, fear not, there are screenshots 😊.
The goals:
Secure by default: no NAT, private subnets, VPC endpoints, KMS keys.
Minimal and reproducible: TypeScript CDK, small Lambdas, few moving parts.
Practical: preprocessing, training, and real‑time inference using AutoGluon.
Flexible pipeline lifecycle: managed via a custom resource (SDK) instead of touchy L1.
Architecture at a glance

VPC‑only networking (no NAT)
Isolated subnets
Gateway endpoint: S3
Interface endpoints: SageMaker API/Runtime/Studio, ECR API/DKR, CloudWatch Logs, STS
Encryption
KMS CMKs with rotation for data (S3), logs (CloudWatch), and Studio storage
Storage
Single data bucket with prefixes:
raw/,processed/,models/Separate access logging bucket
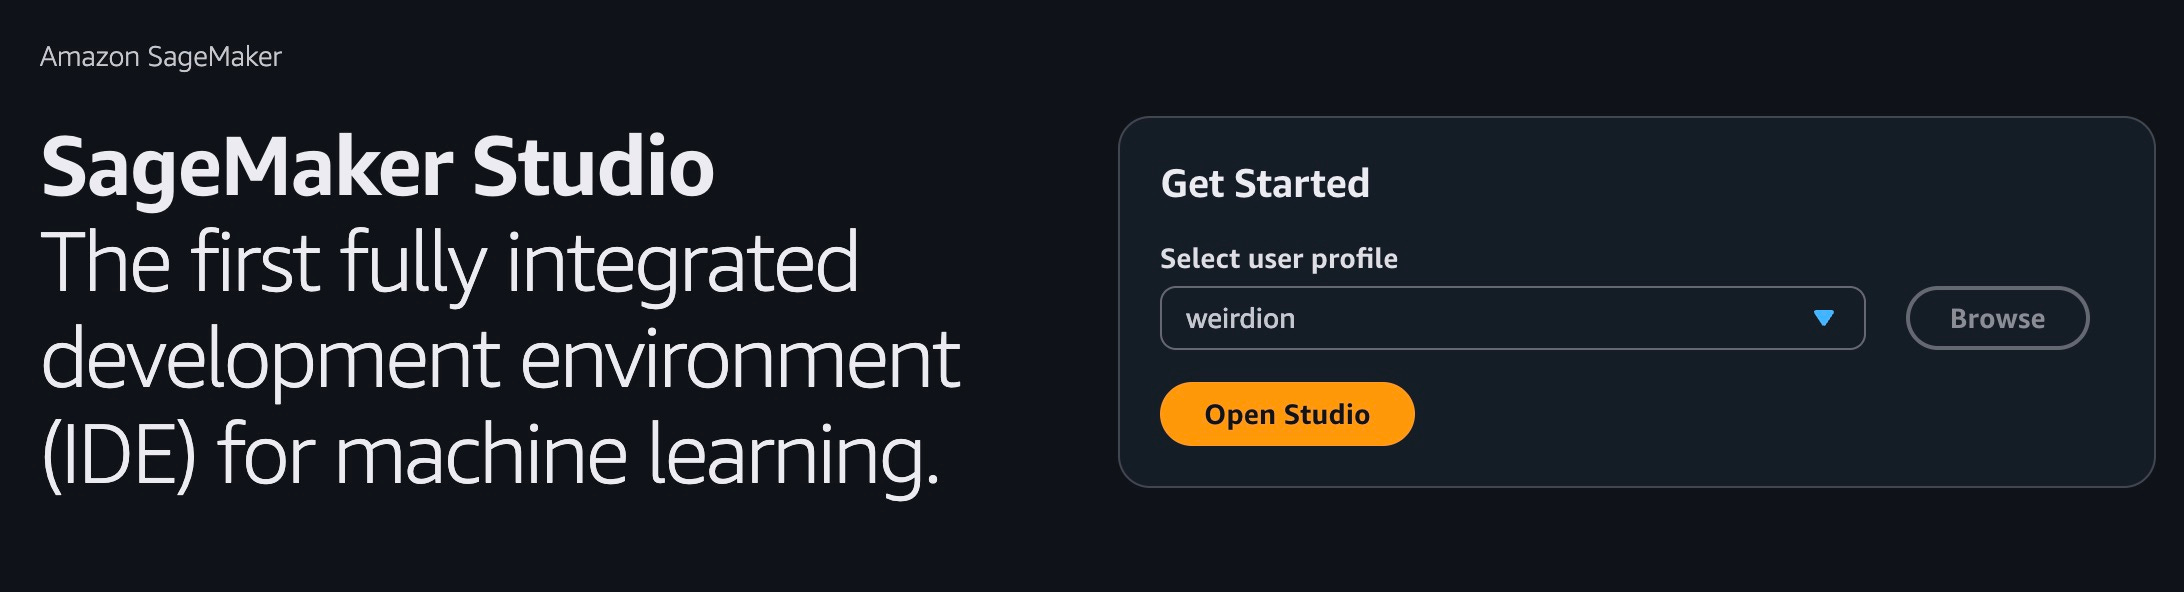
SageMaker Studio
IAM auth, VPC‑only
One user profile:
weirdion
ML Pipelines
Preprocessing (split CSV), Training (AutoGluon), CreateModel, EndpointConfig, Endpoint
Pipeline lifecycle via Lambda custom resource using the SageMaker SDK
Observability
EventBridge rule → SNS topic for pipeline failure notifications
Stacks
NetworkStack— VPC, endpoints, Security GroupStorageStack— KMS data key, data bucket, access logs bucketSagemakerPipelineStack— Studio domain/user, IAM roles, data seed Lambda CR, pipeline manager Lambda CR, failure alarms
The Fun Part
As always, if you just need the code - https://github.com/weirdion/sagemaker-pipeline-example
VPC and Endpoints
We don’t want/need egress for this sandbox, so everything will go through endpoints.
NOTE: Endpoints cost money, be sure to factor that in - AWS Private Link Pricing.
// lib/network-stack.ts (excerpt)
this.vpc = new Vpc(this, `${props.projectPrefix}-vpc`, {
  maxAzs: 2,
  natGateways: 0,
  subnetConfiguration: [{ name: 'private-isolated', subnetType: SubnetType.PRIVATE_ISOLATED }],
});
this.vpc.addGatewayEndpoint(`${props.projectPrefix}-s3-endpoint`, { service: GatewayVpcEndpointAwsService.S3 });
for (const [name, service] of [
  ['ecr-dkr', InterfaceVpcEndpointAwsService.ECR_DOCKER],
  ['ecr-api', InterfaceVpcEndpointAwsService.ECR],
  ['logs', InterfaceVpcEndpointAwsService.CLOUDWATCH_LOGS],
  ['sts', InterfaceVpcEndpointAwsService.STS],
  ['sagemaker-api', InterfaceVpcEndpointAwsService.SAGEMAKER_API],
  ['sagemaker-runtime', InterfaceVpcEndpointAwsService.SAGEMAKER_RUNTIME],
  ['sagemaker-studio', InterfaceVpcEndpointAwsService.SAGEMAKER_STUDIO],
] as const) {
  this.vpc.addInterfaceEndpoint(`${props.projectPrefix}-${name}-endpoint`, { service, privateDnsEnabled: true });
}
Storage
Nothing fancy here, but for completeness, I set a data bucket encrypted with KMS, along with access logging bucket.

// lib/storage-stack.ts (excerpt)
this.dataKey = new Key(this, `${ props.projectPrefix }-data-kms`, {
  alias: `${ props.projectPrefix }/data`,
  enableKeyRotation: true,
  description: 'CMK for S3 data encryption',
});
this.logsBucket = new Bucket(this, `${ props.projectPrefix }-logs-bucket`, {
  bucketName: PhysicalName.GENERATE_IF_NEEDED,
  blockPublicAccess: BlockPublicAccess.BLOCK_ALL,
  encryption: BucketEncryption.S3_MANAGED,
  enforceSSL: true,
  removalPolicy: RemovalPolicy.DESTROY, // for PoC; RETAIN for prod
  autoDeleteObjects: true, // for PoC; false for prod
  objectOwnership: ObjectOwnership.BUCKET_OWNER_ENFORCED,
});

this.dataBucket = new Bucket(this, `${ props.projectPrefix }-data-bucket`, {
  bucketName: PhysicalName.GENERATE_IF_NEEDED,
  blockPublicAccess: BlockPublicAccess.BLOCK_ALL,
  encryption: BucketEncryption.KMS,
  encryptionKey: this.dataKey,
  enforceSSL: true,
  serverAccessLogsBucket: this.logsBucket,
  serverAccessLogsPrefix: 's3-access-logs/',
  removalPolicy: RemovalPolicy.DESTROY, // for PoC; RETAIN for prod
  autoDeleteObjects: true, // for PoC; false for prod
  objectOwnership: ObjectOwnership.BUCKET_OWNER_ENFORCED,
});
Sagemaker
Now that we are in the world of ML, it’s worth knowing that AWS publishing public ECR images for a variety of models that can be re-used. For this example, I used autogluon for training and inference, and scikit-learn for pre-processing.
Github repository - https://github.com/aws/deep-learning-containers/tree/master
AWS Docs List - https://docs.aws.amazon.com/sagemaker/latest/dg-ecr-paths/ecr-us-east-1.html

Before we build the ML pipeline, we need to set up a Sagemaker Domain and a user profile.
Studio execution role gives the user ability to perform certain actions.
I am giving any user created in this domain full access since it’s targeted towards data scientists to play with.
Studio Domain is setup inside the VPC with IAM auth mode, with the KMS data key.
Set up user profile for anyone who would access this studio
You can also set up SSO identifiers here to limit access.
// lib/sagemaker-pipeline-stack.ts (excerpt)
const domainName = `${ props.projectPrefix }-domain`;
const sagemakerExecutionRole = new Role(this, `${ props.projectPrefix }-studio-exec-role`, {
  assumedBy: new ServicePrincipal('sagemaker.amazonaws.com'),
  roleName: `${ props.projectPrefix }-studio-exec-role`,
  managedPolicies: [
    // for poc: granular least-privilege for prod
    ManagedPolicy.fromAwsManagedPolicyName('AmazonSageMakerFullAccess'),
  ],
});

// IAM access only in VPCOnly mode - both are important to set up
this.studioDomain = new CfnDomain(this, domainName, {
  domainName,
  authMode: 'IAM',
  appNetworkAccessType: 'VpcOnly',
  vpcId: props.vpc.vpcId,
  subnetIds: props.vpc.isolatedSubnets.map((s) => s.subnetId),
  defaultUserSettings: {
    securityGroups: [ props.securityGroup.securityGroupId ],
    executionRole: sagemakerExecutionRole.roleArn,
    jupyterServerAppSettings: {},
    kernelGatewayAppSettings: {},
  },
  kmsKeyId: props.dataKey.keyArn,
});

// user profile used to access the Sagemaker Studio
this.userProfile = new CfnUserProfile(this, `${ props.projectPrefix }-user-weirdion`, {
  domainId: this.studioDomain.attrDomainId,
  userProfileName: 'weirdion',
  userSettings: {
    securityGroups: [ props.securityGroup.securityGroupId ],
  },
});
this.userProfile.addDependency(this.studioDomain);
Now that Studio is set up, we need two more roles to make the pipeline actually do work:
SageMaker Job Role — used by Processing, Training, Model, and Endpoint steps.
Pipeline Role — used by the SageMaker Pipelines service to create/update the pipeline and pass the job role.
// lib/sagemaker-pipeline-stack.ts (excerpt) — roles for jobs and pipeline

// Role used by Processing/Training/Model/Endpoint steps
const sagemakerJobRole = new Role(this, `${props.projectPrefix}-sm-job-role`, {
  roleName: `${props.projectPrefix}-sm-job-role`,
  assumedBy: new ServicePrincipal('sagemaker.amazonaws.com'),
  managedPolicies: [
    ManagedPolicy.fromAwsManagedPolicyName('AmazonEC2ContainerRegistryReadOnly'),
  ],
});
sagemakerJobRole.addToPolicy(new PolicyStatement({
  actions: [
    'logs:CreateLogGroup', 'logs:CreateLogStream', 'logs:PutLogEvents',
    'ecr:GetAuthorizationToken',
  ],
  resources: ['*'], // tighten for prod
}));
props.dataBucket.grantReadWrite(sagemakerJobRole);
props.dataKey.grantEncryptDecrypt(sagemakerJobRole);

// Role used by the Pipeline service
const pipelineRole = new Role(this, `${props.projectPrefix}-pipeline-role`, {
  roleName: `${props.projectPrefix}-pipeline-role`,
  assumedBy: new ServicePrincipal('sagemaker.amazonaws.com'),
});
pipelineRole.addToPolicy(new PolicyStatement({
  actions: [
    'sagemaker:CreatePipeline','sagemaker:UpdatePipeline','sagemaker:DeletePipeline',
    'sagemaker:DescribePipeline','sagemaker:GetPipelineDefinition',
    'iam:PassRole','s3:*',
    'kms:Decrypt','kms:Encrypt','kms:GenerateDataKey*','kms:DescribeKey',
    'logs:*',
    'ecr:GetAuthorizationToken','ecr:BatchCheckLayerAvailability','ecr:GetDownloadUrlForLayer','ecr:BatchGetImage',
  ],
  resources: ['*'], // tighten for prod
}));
pipelineRole.addToPolicy(new PolicyStatement({
  actions: ['iam:PassRole'],
  resources: [sagemakerJobRole.roleArn],
}));
The ML Pipeline
I tried the L1 CfnPipeline route and, frankly, I ran into walls trying to get the deploy working. I ended up switching to a small custom resource that builds the pipeline JSON in code and calls the SageMaker API. I pass in just the knobs I care about (instance type, image URIs, S3 prefixes, roles). It’s reproducible, versioned, and easy to reason about.
// lib/sagemaker-pipeline-stack.ts (excerpt) — pipeline manager CR config

const pipelineName = 'ml-pipeline-example-classification';

const pipelineFn = new Function(this, `${props.projectPrefix}-pipeline-manager-fn`, {
  functionName: `${props.projectPrefix}-pipeline-manager`,
  runtime: Runtime.PYTHON_3_12,
  handler: 'index.on_event',
  code: Code.fromAsset('resources/lambda/pipeline_manager'),
  timeout: Duration.minutes(5),
  memorySize: 512,
  vpc: props.vpc,
  securityGroups: [props.securityGroup],
  vpcSubnets: { subnets: props.vpc.isolatedSubnets },
});
pipelineFn.addToRolePolicy(new PolicyStatement({
  actions: [
    'sagemaker:CreatePipeline','sagemaker:UpdatePipeline','sagemaker:DeletePipeline',
    'sagemaker:DescribePipeline','sagemaker:GetPipelineDefinition',
  ],
  resources: [`arn:aws:sagemaker:${Stack.of(this).region}:${Stack.of(this).account}:pipeline/${pipelineName}`],
}));
pipelineFn.addToRolePolicy(new PolicyStatement({
  actions: ['iam:PassRole'],
  resources: [pipelineRole.roleArn, sagemakerJobRole.roleArn],
}));

const pipelineProvider = new Provider(this, `${props.projectPrefix}-pipeline-provider`, {
  onEventHandler: pipelineFn,
});

new CustomResource(this, `${props.projectPrefix}-pipeline-resource`, {
  serviceToken: pipelineProvider.serviceToken,
  properties: {
    PipelineName: pipelineName,
    PipelineRoleArn: pipelineRole.roleArn,
    JobRoleArn: sagemakerJobRole.roleArn,
    BucketName: props.dataBucket.bucketName,
    RawPrefix: 'raw/',
    ProcessedPrefix: 'processed/',
    ModelPrefix: 'models/',
    CodePrefix: 'code/',
    ProcessingImageUri: this.PRE_PROC_IMAGE,
    TrainingImageUri: this.TRAINING_IMAGE,
    InferenceImageUri: this.INFERENCE_IMAGE,
    InstanceType: 'ml.m5.large',
    EndpointName: `${props.projectPrefix}-endpoint`,
    GeneratorVersion: 'v1',
  },
});
And here’s the heart of it — the Lambda generates the pipeline definition deterministically from that config:
# resources/lambda/pipeline_manager/index.py (excerpt)

def _build_definition(cfg: dict) -> dict:
    bucket = cfg["bucketName"]
    raw_uri = f"s3://{bucket}/{cfg['rawPrefix'].rstrip('/')}/data.csv"
    processed_prefix = f"s3://{bucket}/{cfg['processedPrefix'].rstrip('/')}/"
    model_prefix = f"s3://{bucket}/{cfg['modelPrefix'].rstrip('/')}/"

    return {
        "Version": "2020-12-01",
        "Parameters": [
            {"Name": "InputDataUri", "DefaultValue": raw_uri},
            {"Name": "ProcessedPrefix", "DefaultValue": processed_prefix},
            {"Name": "ModelPrefix", "DefaultValue": model_prefix},
            {"Name": "InstanceType", "DefaultValue": cfg["instanceType"]},
        ],
        "Steps": [
            { "Name": "Preprocess", "Type": "Processing", "Arguments": { ... } },
            { "Name": "Train", "Type": "Training", "Arguments": { ... } },
            { "Name": "CreateModel", "Type": "Model", "Arguments": { ... } },
            { "Name": "CreateEndpointConfig", "Type": "EndpointConfig", "Arguments": { ... } },
            { "Name": "CreateEndpoint", "Type": "Endpoint", "Arguments": { ... } },
        ],
    }
If you prefer, you can swap in an evaluation step and gate endpoint creation behind a metric threshold. For the PoC, I kept it lean: preprocess → train → deploy.

Deploy and run
Once deployed, start the pipeline manually (no auto‑execution by design):
aws sagemaker start-pipeline-execution \
  --pipeline-name ml-pipeline-example-classification
Costs (infra only)
Excluded: variable compute for Processing/Training jobs and live Endpoint runtime.
Interface VPC Endpoints: ~$0.01–$0.014 per AZ‑hour each (+ data processing). Typical: 7 endpoints × 2 AZs.
S3 Gateway Endpoint: no hourly charge; standard S3 usage applies.
S3 Buckets: storage + requests (small PoC: a few dollars/month).
KMS CMKs: ~$1/month/key + API requests.
CloudWatch Logs: ingest + storage (small for light Lambda/CR use).
Lambda (pipeline manager, data seed): per‑request and compute, negligible for PoC.
EventBridge + SNS: rules no cost; SNS per notification (minimal without subscriptions).
Always use AWS Pricing Calculator for precise numbers in your region.
Troubleshooting notes
These caught me during iteration; here’s how to avoid them:
PipelineDefinition shape (when using CFN L1)
Must nest
PipelineDefinitionBodyorPipelineDefinitionS3Location. Passing a raw object or wrong key casing fails schema validation.
Processing AppSpecification
Omit
ContainerArgumentsif empty — empty arrays are invalid.
Expression functions
Pipelines don’t support arbitrary
Concat/Joinshapes; simplify by emitting explicit S3 URIs or validGetreferences.
Permissions
Ensure the pipeline/job roles can read/write your S3 prefixes and pass roles.
Link to the full code repo: https://github.com/weirdion/sagemaker-pipeline-example
Don’t forget to cdk destroy and Happy Coding! ❤️